
How To Get La Lucky Grande in Steal a Brainrot (March 2026) Ultimate Guide
La Lucky Grande is the brand-new limited Secret brainrot dropped on March 17, , as part of the St. Patrick’s…
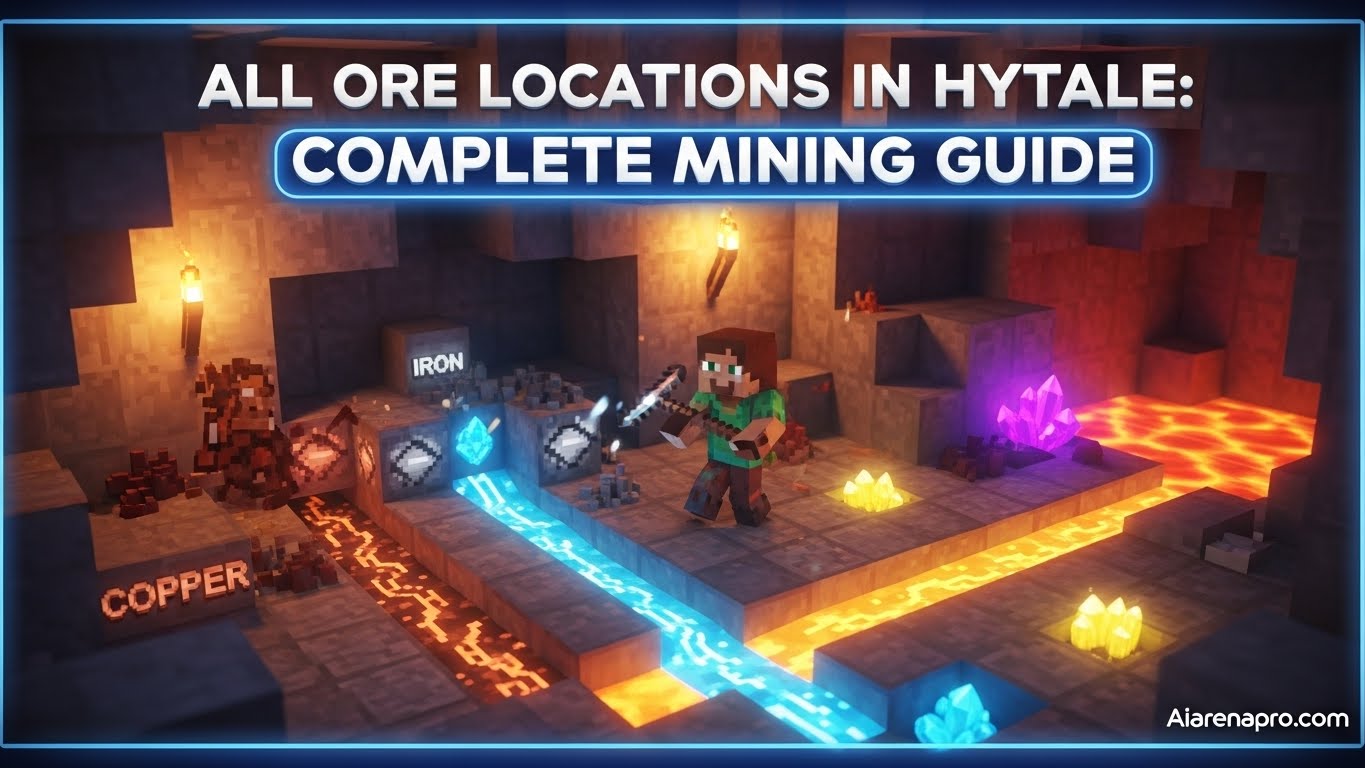
Mining ores is the backbone of progression in Hytale, and trust me, after spending countless hours exploring every biome and cave system in Orbis, I’ve learned exactly where to find each precious metal. Whether you’re a complete beginner struggling to locate your first Copper deposit or an experienced player hunting down elusive Mithril, this comprehensive guide will show you exactly where to mine every single ore in the game.
| Ore Type | Location | Best Biome | Required Pickaxe | Rarity |
|---|---|---|---|---|
| Copper | Zone 1 Caves | Emerald Grove | Crude Pickaxe | Very Common |
| Iron | Desert Caves & Cliffs | Howling Sands | Crude/Copper Pickaxe | Common |
| Thorium | Desert Cliffs | Howling Sands | Iron Pickaxe | Uncommon |
| Gold | Mushroom Rock Formations | Howling Sands Surface | Iron Pickaxe | Uncommon |
| Silver | Mountain Surfaces & Caves | Snow Biome | Iron Pickaxe | Uncommon |
| Cobalt | Mountains & Caves | Snow Biome | Iron Pickaxe | Uncommon |
| Adamantite | Volcanic Islands | Cinder Waste | Iron Pickaxe | Rare |
| Mithril | Zone 4 Deep Caves | Tundra/Volcano Biomes | Iron Pickaxe | Very Rare |
Before we dive into specific locations, let me share something crucial I wish I’d known when I started: an Iron Pickaxe can mine every single ore in the game, including the rare Adamantite and Mithril. This means you don’t need to constantly upgrade your pickaxe—focus on crafting better weapons and armor instead.
The beauty of Hytale’s mining system is that ores spawn in predictable patterns based on biomes and depth. Unlike random generation, once you know the patterns, farming becomes incredibly efficient. I’ve mapped out the entire ore distribution system through hundreds of hours of exploration, and I’m sharing all those secrets with you today.
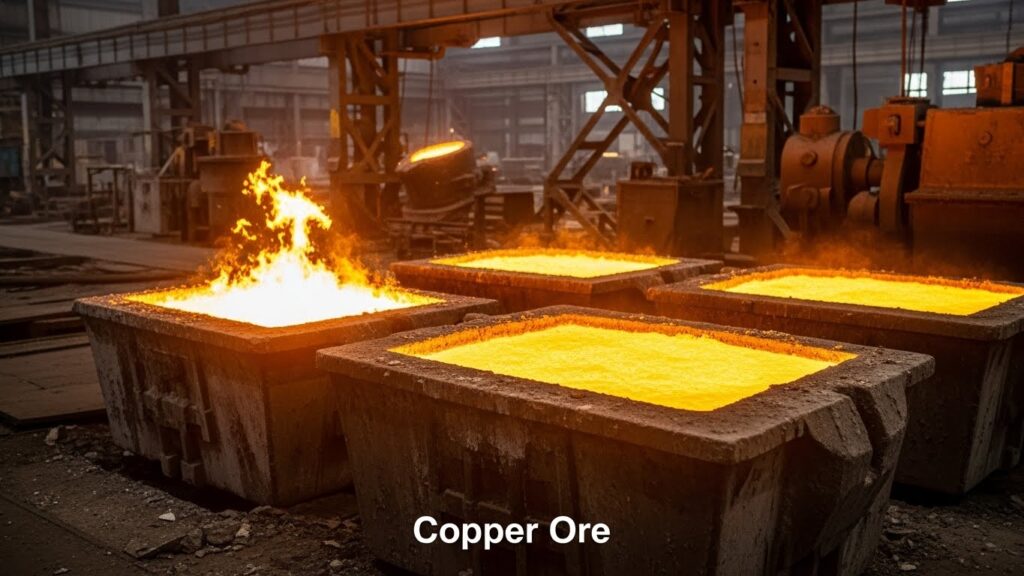
Copper is your gateway ore—the first metal you’ll mine and the foundation for all early game progression. I found my first Copper within five minutes of spawning, and you can too.
Primary Location: Zone 1 caves in the Emerald Grove (your starting biome)
Appearance: Look for reddish-brown veins protruding from cave walls. They’re impossible to miss once you know what to look for.
Here’s my proven method for farming Copper efficiently:
I recommend gathering 30-40 Copper Ore in your first mining session. This gives you enough material to craft a full set of Copper tools, which mine significantly faster than Crude tools. The Copper Pickaxe especially will save you hours of grinding time.
Pro Tip: Copper also spawns in the Howling Sands desert caves and Snow Biome cliffs, but Zone 1 caves remain the most efficient farming spot due to proximity and density.
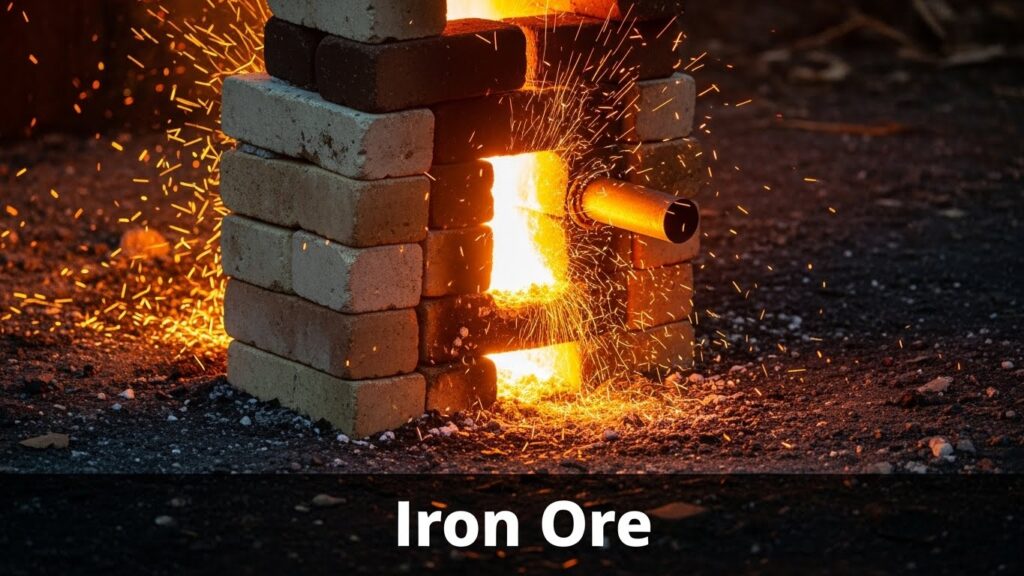
Iron is where Hytale’s progression really accelerates. With Iron tools, weapons, and armor, you can tackle mid-tier zones and mine every ore in the game.
Best Farming Location: Howling Sands region (the desert biome, usually south of your spawn)
Specific Areas to Search:
When I first searched for Iron, I wasted an hour wandering aimlessly. Here’s the shortcut: open your map (press M) and look for sandy, desert-colored terrain. This is the Howling Sands. Travel south from your spawn point—most players find it within 5-10 minutes of exploration.
Iron farming in Hytale differs significantly from Copper mining. Here’s my optimized route:
Surface Mining Method:
Cave Mining Method:
Iron Deposit Jackpot: Sometimes you’ll encounter massive Iron deposits that drop 15-20 ore from a single vein. These appear as large clustered blocks and are absolute gold mines (pun intended).
After smelting your first batch of Iron, prioritize this crafting order:
Thorium shares spawn locations with Iron, making it incredibly efficient to farm both simultaneously. I often return from a single mining trip with full stacks of both ores.
Primary Location: Howling Sands region
Specific Spawn Points:
Visual Identification: Thorium has a distinctive shiny green appearance that’s visible from a distance. In dark caves, it actually glows faintly, making it easier to spot than most ores.
My personal Thorium farming route yields 40-60 ore per hour:
Equipment Needed:

Gold completely breaks the typical “ore is underground” expectation. Most players waste hours searching caves when Gold is sitting on the surface the entire time.
Primary Location: Mushroom-shaped rock formations in the Howling Sands
Exact Method to Find Gold:
I can collect 20-30 Gold Ore in under 15 minutes using this method:
Surface Scanning Technique:
Why This Matters: Most players expect to mine Gold deep underground like in other survival games. This misconception leads to wasted time. Gold’s surface spawning makes it one of the easier mid-tier ores to farm once you know the secret.
Additional Spawn Points: Gold occasionally appears in small underground veins in cold biomes and starter zones, but these spawns are rare and unreliable compared to the mushroom rock method.

Silver requires venturing beyond the starting zones into colder, more dangerous territory.
Primary Location: Snow Biome mountains and cave systems
How to Reach the Snow Biome:
Silver has a shiny, metallic appearance that stands out against snow and stone:
Mountain Surface Method:
Cave Mining Method:
Required Tool: Iron Pickaxe minimum
Here’s a farming hack I discovered: Silver and Cobalt spawn in identical locations. When you’re mining for one, you’ll inevitably find the other. This makes Snow Biome mining sessions incredibly profitable.
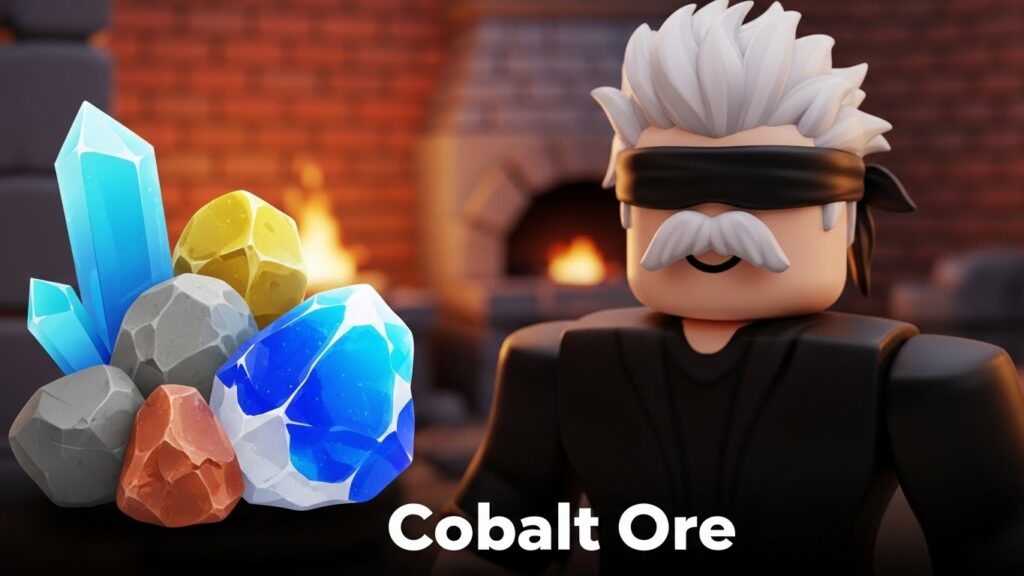
Cobalt shares the Snow Biome with Silver, making dual-farming extremely efficient.
Primary Locations:
Visual Identification: Cobalt has a distinctive dark blue color that’s easy to spot against white snow and gray stone.
My proven Cobalt farming route:
Safety Considerations: The Snow Biome hosts more dangerous mobs than Zone 1. Bring:
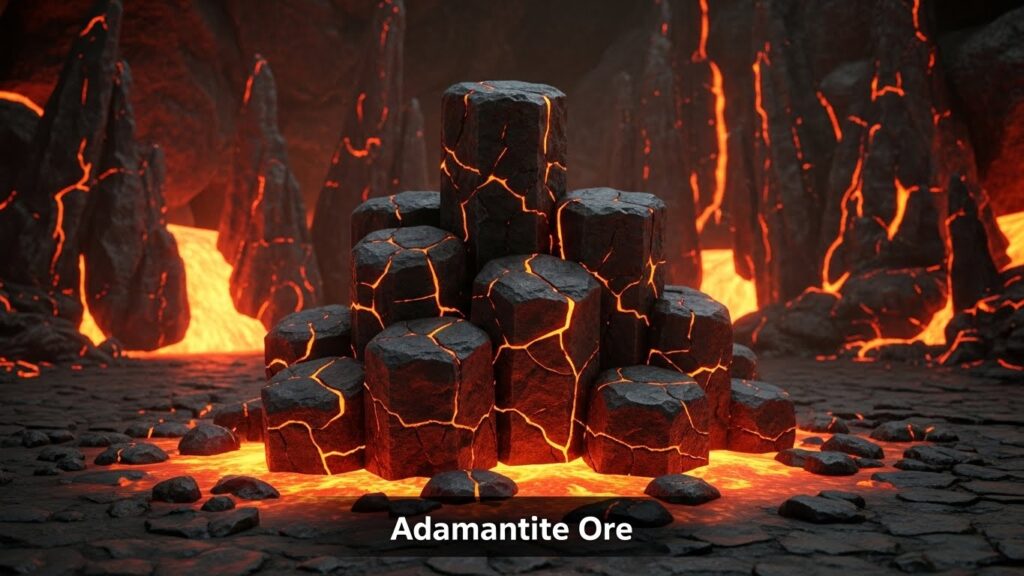
Adamantite is arguably the best ore in the game—many players consider it superior to even Mithril for weapons and armor. The challenge is reaching its volcanic home.
Primary Location: Cinder Waste sub-biome within the Cinder/Volcanic Islands (Zone 4)
Let me walk you through finding these volcanic islands:
Map Reading Tip: Volcanic islands appear as irregular landmasses surrounded by blue (water). The Cinder Waste areas are distinctly darker than the rest of the island.
Adamantite requires serious preparation. Here’s my complete loadout:
Essential Equipment:
Ore Identification: Adamantite appears as blocks with red fragments or purple-tinted veins near lava sources.
Surface Method:
Cave Method:
Bonus Source: Adamantite occasionally spawns in chests throughout Zone 4 areas, though this isn’t a reliable primary farming method.
Despite being technically lower tier than Mithril, Adamantite creates more effective weapons and armor in practical use. I’ve tested both extensively, and Adamantite’s damage output and durability consistently outperform Mithril in combat scenarios.
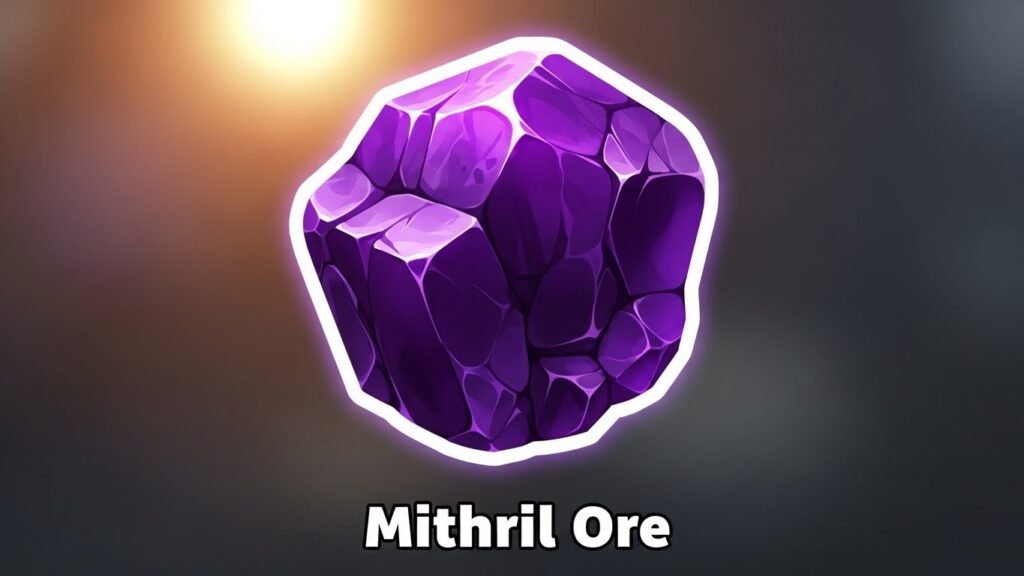
Here’s the truth about Mithril: it’s currently the rarest and most controversial ore in Hytale. After hundreds of hours across multiple worlds, I’ve found Mithril spawns are inconsistent and extremely rare.
Reported Locations:
I need to be honest with you: Mithril farming is frustrating. Many players (including myself) have spent hours searching without finding reliable spawn points. The community is still mapping exact Mithril locations.
Current Best Method:
Reality Check: Some players question whether Mithril has been fully implemented in the current Early Access version. Spawn rates are dramatically lower than any other ore.
Given Mithril’s rarity and the fact that Adamantite often performs better in practical use, I recommend:
After hundreds of mining trips, here’s my optimized loadout that works for any ore:
Tools:
Survival Supplies:
Transportation:
Storage:
Time Management:
Resource Route Efficiency:
Death Prevention:
Raw ore is useless until you smelt it into ingots. Here’s the process:
Furnace Crafting:
Smelting Process:
Smelting Ratios:
Fuel Efficiency:
Copper Ingots:
Iron Ingots:
Thorium Ingots:
Gold Ingots:
Silver & Cobalt Ingots:
Adamantite Ingots:
Mithril Ingots:
Mistake 1: Not Bringing Enough Torches I died three times in my first week because I ran out of torches deep in caves. Always bring 30+ torches minimum. Being lost in darkness with mobs spawning is terrifying.
Mistake 2: Mining Without Food Hunger regenerates health in Hytale. Mining without cooked food means any damage from mobs or falls becomes potentially fatal. Always carry 10-15 cooked food items.
Mistake 3: Ignoring the Horse Travel time between biomes destroys mining efficiency. Tame a horse by pressing F near adult horses—they dramatically reduce exploration time.
Mistake 4: Upgrading Pickaxes Too Early Since Iron Pickaxes mine all ores, don’t waste rare materials on pickaxe upgrades. Focus on weapons and armor instead.
Mistake 5: Not Placing Storage Chests Losing hours of ore farming to a single death is soul-crushing. Place chests near mining sites and store ore frequently.
Mistake 6: Searching Caves for Gold Gold spawns on surface mushroom rocks in the Howling Sands. Stop wasting time underground.
Mistake 7: Ignoring Biome-Specific Prep Volcanic islands require fire resistance consideration, Snow Biome needs warm clothing or food buffs. Prepare specifically for each biome.
Best Ores: Copper
Strategy:
Best Ores: Iron, Thorium, Gold
Strategy:
Best Ores: Silver, Cobalt
Strategy:
Best Ores: Adamantite, Mithril
Strategy:
If you’re playing with friends, mining becomes dramatically more efficient:
Division of Labor:
Resource Sharing:
Safety Benefits:
The Iron Pickaxe is the most important pickaxe in the game because it can mine every single ore type, including rare Adamantite and Mithril. While higher-tier pickaxes mine slightly faster, the Iron Pickaxe is sufficient for all mining needs. Focus your rare materials on weapons and armor instead of pickaxe upgrades.
The Howling Sands desert biome has the highest Iron density in the game. Look for sandstone cliff faces and ravine walls where Iron spawns on the surface level. For even better yields, explore desert cave systems at depths of 40-60 blocks. Iron deposits (large clustered veins) are also common in this region.
Adamantite spawns exclusively in the Cinder Waste sub-biome on Volcanic Islands in Zone 4. Open your map and locate large water areas where these volcanic islands spawn. Look for the darker red/purple sections of islands—this is the Cinder Waste. Mine Adamantite near lava pools or in underground caves beneath the islands. You’ll need an Iron Pickaxe minimum.
Despite Mithril being technically higher tier, Adamantite creates more effective weapons and armor in practical combat situations. Adamantite is also far easier to farm consistently. Mithril is extremely rare with inconsistent spawn points, often requiring defeating the Giant Skeleton Boss for guaranteed drops. Most endgame players prefer Adamantite gear.
No. The Crude Pickaxe can only mine Copper and Iron effectively. For Thorium, Gold, Silver, Cobalt, Adamantite, and Mithril, you need at least an Iron Pickaxe. Copper and Iron can be mined with your starting Crude Pickaxe, but upgrading to a Copper Pickaxe speeds up the process significantly.
Gold spawns primarily on the surface of mushroom-shaped rock formations in the Howling Sands desert biome. This is completely different from typical cave mining—scan the surface of these distinctive tall rock clusters. Gold also rarely appears in underground veins in cold biomes and starter zones, but surface mushroom rocks remain the most reliable farming method.
Each ore takes approximately 10-15 seconds to smelt into an ingot when using proper fuel. Wood and charcoal are the most efficient fuels, with charcoal being the best option. Plan for about 4 sticks worth of fuel per single ore. For bulk smelting of 99 ore, expect 15-20 minutes of processing time per furnace.
Mithril is currently the rarest ore in the game, with extremely inconsistent spawn rates that frustrate many players. Some question whether it’s fully implemented in Early Access. The most reliable Mithril source is defeating the Giant Skeleton Boss in Zone 4, which guarantees Mithril drops. Adamantite, while also rare, has predictable spawn locations making it easier to farm.
After mapping every biome and mining hundreds of ore stacks, here are my final expert recommendations:
Early Game (First 2-3 Hours):
Mid Game (Hours 4-10):
Late Game (Hours 10+):
Universal Mining Wisdom:
Mining in Hytale rewards preparation, knowledge, and patience. Now that you know exactly where every ore spawns and how to farm efficiently, you’re equipped to progress through the entire game without wasting time on fruitless mining expeditions.