
Heartopia Codes (March 2026) free Moonlight Crystals, Wishing Stars & Gold
Looking for working Heartopia codes in ? You’re in the right place. I’ve compiled every active code from official sources,…
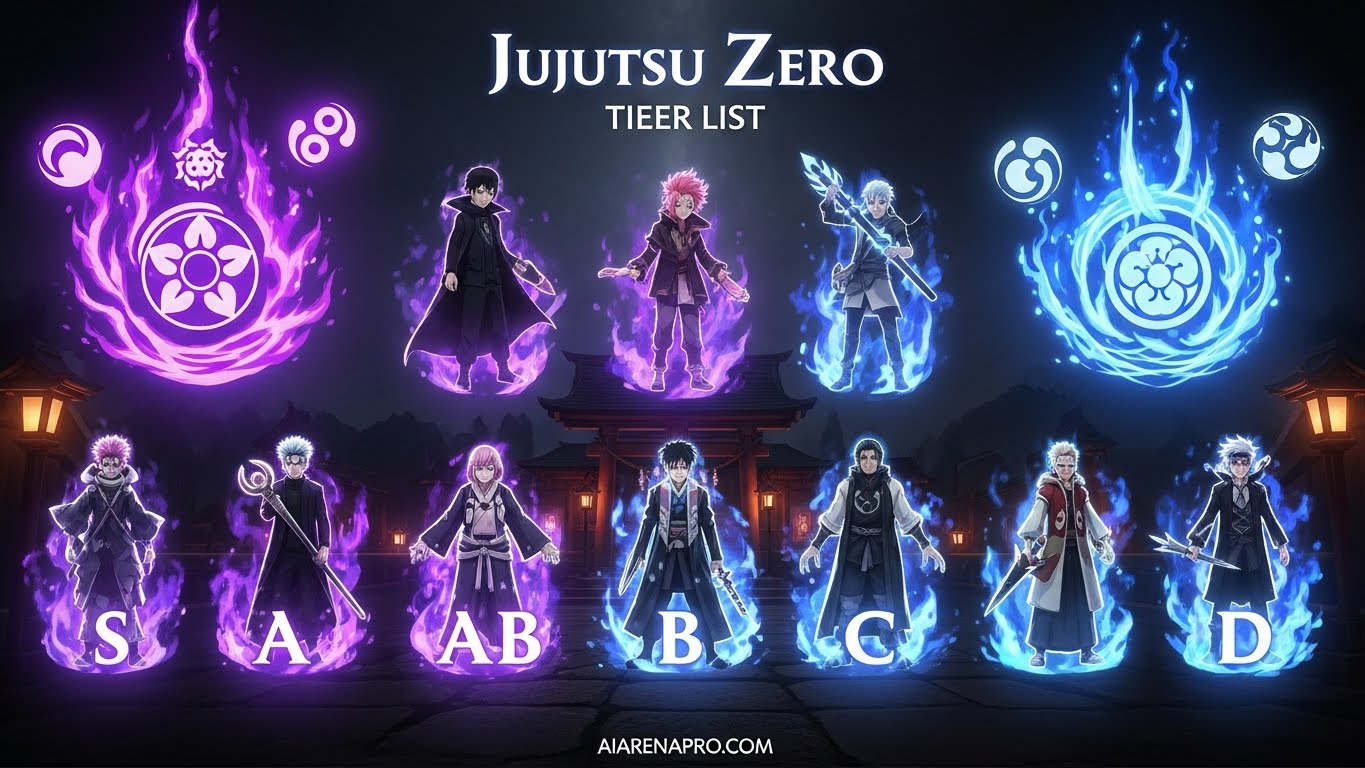
If you’re serious about dominating Jujutsu Zero, choosing the right clan is absolutely critical to your success. After countless hours grinding through this incredible Roblox experience and analyzing every single bloodline available, I’ve put together the most comprehensive clan tier list you’ll find anywhere. Your clan choice determines your passive bonuses, base stats, and ultimately how you’ll perform in both PvP duels and brutal boss battles.
In Jujutsu Zero, clans aren’t just cosmetic choices they’re fundamental to your entire build strategy. The difference between rolling a top-tier clan like Sukuna versus settling for something like Miwa can mean the difference between one-shotting opponents and struggling through every encounter. With 16 unique clans ranging from the godlike ??? Grade bloodlines to common Grade 3 options, knowing which ones to keep and which to reroll immediately is essential knowledge.
This guide covers everything you need: complete stat breakdowns for all 16 clans, exact drop rates, detailed analysis of each bloodline’s strengths and weaknesses, synergy recommendations with cursed techniques, and proven strategies for maximizing your reroll efficiency. Whether you’re a complete beginner wondering which clan to aim for or a veteran looking to optimize your build, this tier list has you covered.
Before diving into the rankings, you need to understand how the clan system works. Clans in Jujutsu Zero are divided into four distinct grades, each with drastically different drop rates. The rarer the clan, the more powerful its stat bonuses typically are.
??? Grade Clans represent the absolute pinnacle with just a 0.02% drop rate that’s 1 in 5,000 spins. These include Sukuna, Tengen, and the newly added Kashimo. Special Grade Clans like Gojo, Geto, and Zen’in have a 0.25% drop rate, making them extremely rare but more obtainable than ??? Grade. Grade 1 Clans such as Fushiguro, Abe, Okkotsu, and Kamo sit at a 1.45% drop rate still uncommon but reasonable to target. Grade 2 Clans including Todo, Inumaki, Kugisaki, and Nanami have a 27.78% chance, while Grade 3 Clans like Itadori, Fujiwara, and Miwa are extremely common at 70.5%.
The game includes a pity system where every 100 rolls without getting Grade 1 or higher guarantees your next roll will be at least Grade 1. This system resets whenever you successfully roll a Grade 1 or better clan, so strategic use of free codes for clan spins becomes incredibly important for maximizing your chances at premium bloodlines.
Understanding what each stat actually does will help you make informed decisions. ATK (Attack) increases all damage output including techniques and weapons this is universally valuable. HP (Health Points) boosts your maximum health pool for better survivability. CR (Critical Rate) improves your chance to land devastating critical hits. CD (Critical Damage) multiplies the damage of those critical strikes. CDR (Cooldown Reduction) lets you spam your cursed techniques more frequently. CE (Cursed Energy) increases your maximum mana pool. CER (Cursed Energy Regeneration) affects how quickly that mana regenerates. DR (Damage Reduction) functions as armor, reducing incoming damage.
The most valuable stats are ATK, CR, CD, and CDR because they directly impact your damage output. CE and CER matter more for technique-heavy builds, while HP and DR are defensive options that become less important as you master combat mechanics and learn to avoid damage.
| Tier | Clan | Grade | Drop Rate | Key Stats |
|---|---|---|---|---|
| S+ | Kashimo | ??? | 0.02% | ATK +35%, CR +20%, CD +100%, CDR +30% |
| S+ | Sukuna | ??? | 0.02% | ATK +50%, CR +25%, CD +85%, CDR +25% |
| S+ | Tengen | ??? | 0.02% | HP +150%, CD +115%, CR +15%, CE +50% |
| S | Geto | Special | 0.25% | ATK +40%, CE +35%, CDR +20%, HP -20% |
| S | Gojo | Special | 0.25% | ATK +25%, CR +15%, CD +50% |
| S | Zen’in | Special | 0.25% | ATK +35%, CR +15%, CDR +30%, CE -20% |
| A | Fushiguro | Grade 1 | 1.45% | ATK +45%, CDR +10%, CE -15% |
| A | Abe | Grade 1 | 1.45% | ATK +30%, CE +55%, CER -10% |
| B | Okkotsu | Grade 1 | 1.45% | CR +10%, CE +35%, CER -10% |
| B | Kamo | Grade 1 | 1.45% | CD +40%, DR +20%, HP -15% |
| B | Todo | Grade 2 | 27.78% | ATK +25%, CD +30%, DR -5% |
| C | Inumaki | Grade 2 | 27.78% | ATK +20%, CE +35%, HP -10% |
| C | Itadori | Grade 3 | 70.5% | ATK +20%, HP -10% |
| D | Kugisaki | Grade 2 | 27.78% | CD +25%, HP +20%, CE -10% |
| D | Nanami | Grade 2 | 27.78% | CR +10%, ATK +10%, HP -10% |
| D | Fujiwara | Grade 3 | 70.5% | ATK +12%, DR +10%, HP -5% |
| D | Miwa | Grade 3 | 70.5% | HP +20%, CER -10% |
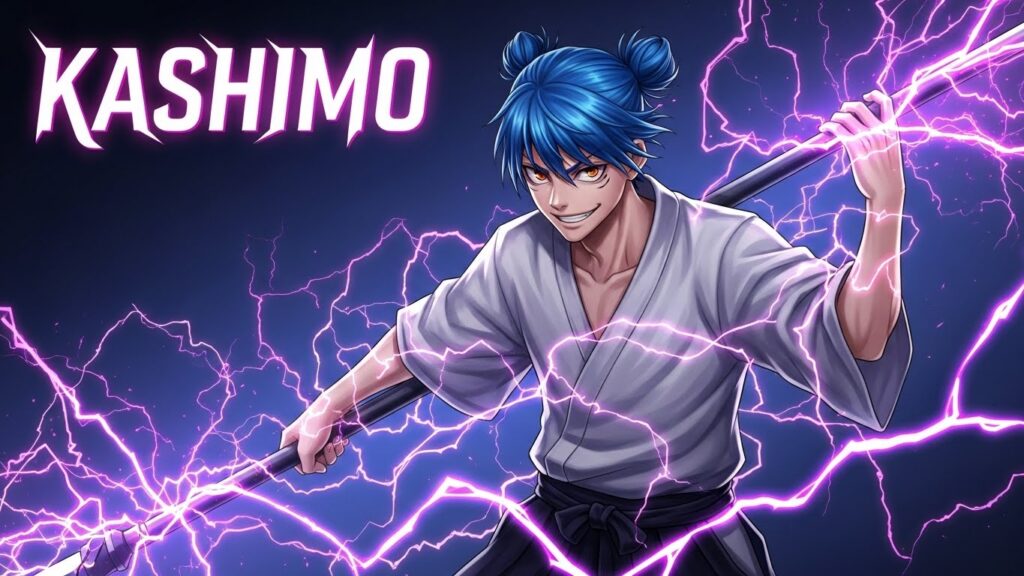
Kashimo represents the newest addition to the ??? Grade roster, and it’s immediately established itself as a top-tier powerhouse. With an explosive combination of +35% ATK, +20% CR, and a massive +100% CD, Kashimo excels at critical hit-focused builds. The +30% CDR ensures you can spam your most powerful abilities with minimal downtime. What makes Kashimo particularly special is its balance while Sukuna edges it out slightly in raw ATK, Kashimo’s superior CDR and astronomical CD multiplier create a more consistent damage output pattern. This clan synergizes perfectly with cursed techniques like Disaster Flames, Shrine, or Limitless, where ability spam and critical strikes dominate. For aggressive players who love maintaining constant pressure, Kashimo delivers unmatched performance. The 0.02% drop rate makes it extremely difficult to obtain, but if you manage to roll it, you’ve hit the jackpot.
Sukuna stands as the undisputed champion for pure offensive might. The +50% ATK bonus is the highest in the entire game, and when combined with +25% CR and +85% CD, you’re looking at absolutely devastating damage potential. Every basic attack becomes threatening, and your cursed techniques hit like freight trains. The +25% CDR rounds out the package, ensuring your most powerful moves are available frequently. Sukuna is particularly dominant in PvE content where you can fully utilize its offensive stats to melt through boss health bars in seconds. In PvP, Sukuna demands respect opponents know that taking even a few hits from a Sukuna player can end the match instantly. The main drawback is obvious: at 0.02% drop rate, obtaining Sukuna requires either incredible luck or thousands of clan spins. It pairs exceptionally well with offensive cursed techniques like Shrine, Disaster Flames, or Blood Manipulation. If you’re fortunate enough to roll Sukuna, build your entire strategy around maximizing damage output.
Tengen takes a completely different approach compared to Sukuna and Kashimo, focusing on survivability and technique mastery. The +150% HP makes you incredibly tanky, letting you survive combos that would obliterate other players. The +115% CD and +15% CR provide solid offensive capability, while the +50% CE dramatically expands your mana pool for technique-heavy playstyles. Tengen shines brightest when paired with defensive or utility cursed techniques like Limitless (especially with Domain Expansion), Blood Manipulation, or Straw Doll. This clan excels in extended fights where outlasting your opponent matters more than burst damage. In raids and boss battles, Tengen players can take hits while supporting teammates. The massive HP pool also means you can play more aggressively without fear of getting one-shot. Like all ??? Grade clans, the 0.02% drop rate means you’ll need serious dedication to obtain it, but Tengen’s unique defensive profile makes it a worthy end-game goal for players who prefer tanky, technique-focused builds.
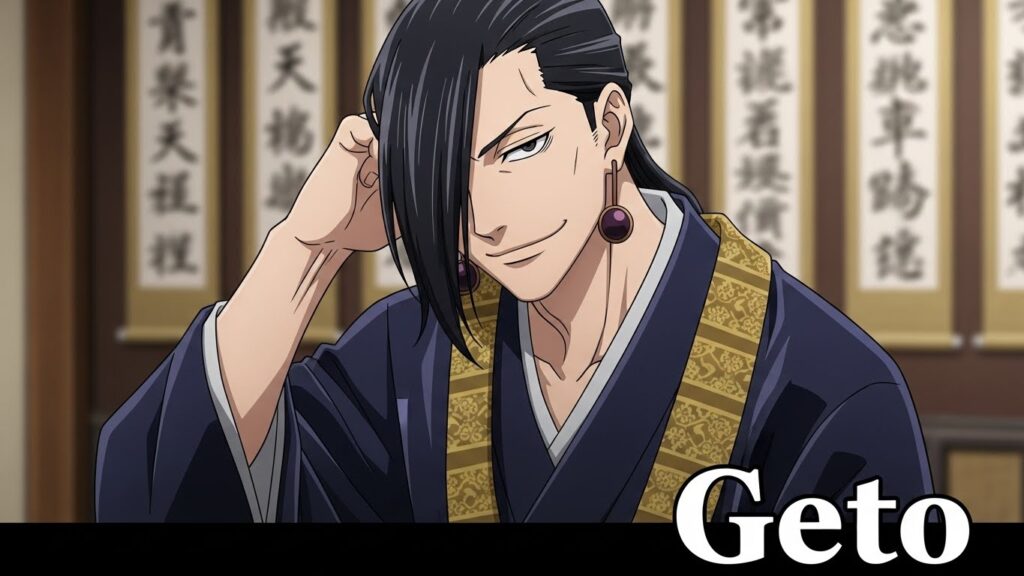
Geto delivers exceptional offensive power with its +40% ATK bonus, placing it among the highest damage dealers outside ??? Grade. The +35% CE and +20% CDR create a technique-spam playstyle that dominates in PvE content you can continuously cast abilities with minimal downtime. The -20% HP penalty sounds scary but becomes negligible as you improve at combat and learn enemy patterns. Geto pairs phenomenally with cursed techniques like Disaster Tides, Disaster Flames, and Cursed Speech where ability spam trumps everything else. In group content, Geto players can consistently output massive AoE damage to clear waves of enemies efficiently. The 0.25% drop rate makes Geto rare but far more obtainable than ??? Grade clans, making it an excellent realistic target for dedicated players. If you enjoy casting abilities and watching everything melt around you, Geto provides exactly that experience.
Gojo offers incredible versatility with its balanced stat distribution. The +25% ATK provides solid damage, while +15% CR and +50% CD create consistent critical damage output. Unlike many other clans, Gojo has zero stat penalties, making it purely beneficial. This clan excels when paired with unsurprisingly the Limitless cursed technique, creating the authentic Satoru Gojo experience from the anime. However, Gojo performs well with nearly any technique thanks to its balanced nature. In PvP, Gojo’s consistent critical strikes let you chunk through opponent health bars reliably. In PvE, the lack of penalties means you maintain solid survivability while dealing respectable damage. At 0.25% drop rate, Gojo represents an achievable goal that won’t disappoint once obtained. It’s particularly popular among players who want strong performance without committing to an extreme playstyle.
Zen’in specializes in aggressive, high-pressure gameplay with its +35% ATK, +15% CR, and incredible +30% CDR. This combination lets you spam attacks and abilities relentlessly, overwhelming opponents before they can react. The -20% CE penalty means you’ll need to manage your mana more carefully, but the CDR partially compensates by letting you get more value from each ability use. Zen’in absolutely dominates in PvP where maintaining constant offensive pressure prevents opponents from setting up their own strategies. This clan synergizes perfectly with fast-paced cursed techniques like Shrine, Ratio, or Blood Manipulation. In PvE, Zen’in excels at taking down single targets quickly but can struggle with extended encounters due to the CE penalty. The 0.25% drop rate places it alongside Gojo and Geto as a realistic premium target. If you love aggressive, in-your-face gameplay that never lets up, Zen’in delivers exactly that experience.
Fushiguro boasts the highest ATK bonus among non-Special Grade clans at +45%, making it a legitimate damage dealer. The +10% CDR provides some ability spam potential, though the -15% CE means you’ll need to manage your mana carefully during extended fights. Despite its Grade 1 classification, Fushiguro competes favorably with Special Grade clans in pure damage output. This makes it an excellent choice for players who haven’t rolled Special Grade or ??? Grade options yet. Fushiguro performs well with offensive cursed techniques that don’t heavily rely on CE, such as Shrine or Blood Manipulation. The 1.45% drop rate means most dedicated players will eventually roll Fushiguro, and it’s absolutely worth keeping as a primary clan until you secure something rarer. In both PvP and PvE, the high ATK carries your damage output effectively.
Abe takes a different approach with +30% ATK and a massive +55% CE, creating a technique-focused build that never runs out of mana. The -10% CER penalty has minimal practical impact thanks to the enormous CE pool. Abe excels with mana-hungry cursed techniques like Limitless, Disaster Tides, or Cursed Speech where casting multiple abilities in quick succession matters. This clan shines brightest in raid content and boss battles where sustained damage over time trumps burst damage. The moderate ATK bonus means you won’t sacrifice too much physical damage either. At 1.45% drop rate, Abe represents an obtainable goal that provides excellent performance for technique-oriented playstyles. If you prefer casting abilities over basic attacks, Abe delivers the CE pool to support that approach throughout entire encounters without running dry.
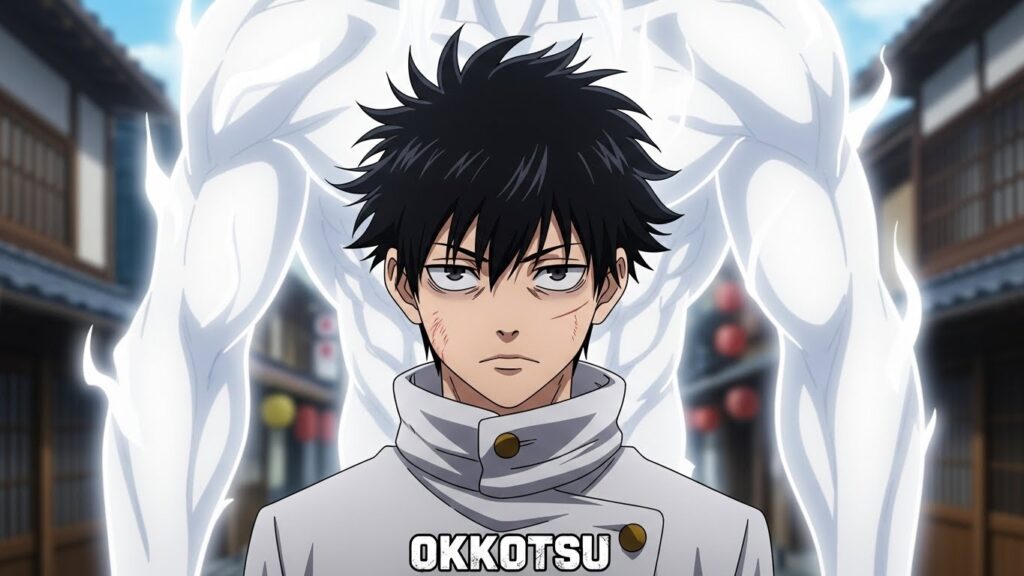
Okkotsu provides +10% CR and +35% CE with a -10% CER penalty. While the stats appear modest compared to higher tiers, Okkotsu offers respectable performance for players who haven’t secured better options. The CR boost ensures some critical strikes for extra damage, while the CE pool supports technique-heavy gameplay. This clan works adequately with most cursed techniques without excelling at any particular playstyle. It’s worth keeping if you’re low on rerolls, but should be replaced once you obtain A-tier or higher options. The 1.45% drop rate means many players will encounter Okkotsu during their reroll journey, and it serves as a perfectly functional temporary choice until something better comes along.
Kamo offers +40% CD and +20% DR with a -15% HP penalty. This creates an interesting risk-reward dynamic where you hit harder but have less health to work with. The DR helps offset the HP loss somewhat, but you’ll need to play more carefully than with other clans. Kamo pairs well with critical-focused builds using techniques like Shrine or Blood Manipulation. The defensive DR bonus makes Kamo slightly more forgiving than pure glass cannon builds. At 1.45% drop rate, it’s reasonably obtainable and worth considering if you enjoy high-risk, high-reward gameplay. However, most players will find Fushiguro or Abe more practical for consistent performance.
Todo stands out as the best Grade 2 clan with +25% ATK, +30% CD, and only -5% DR. For a common clan at 27.78% drop rate, Todo delivers impressive offensive stats that rival some Grade 1 options. This makes Todo an excellent starting clan for new players or a solid holder while grinding for premium options. The minimal DR penalty has virtually no practical impact. Todo works well with any offensive cursed technique and provides respectable damage in both PvP and PvE. While you’ll eventually want to upgrade to Special Grade or higher, Todo performs admirably as a budget option that won’t hold you back significantly during early and mid-game progression.

Inumaki provides +20% ATK and +35% CE with a -10% HP penalty. These stats create a technique-focused build that works adequately for new players learning the game. The HP penalty becomes more noticeable than higher-tier clans, requiring more careful positioning. Inumaki pairs reasonably with technique-heavy cursed abilities but gets outclassed quickly once you obtain better options. At 27.78% drop rate, most players will roll Inumaki early and should keep it only until acquiring Grade 1 or higher clans. It serves its purpose for initial progression but lacks the stats needed for end-game content.
Itadori delivers +20% ATK with a -10% HP penalty. As one of the most common clans at 70.5% drop rate, most players start with Itadori or roll it quickly. The single offensive stat bonus provides basic damage improvement without anything special. The HP penalty hurts survivability without sufficient compensation. Itadori works as an absolute beginner clan for your first few hours of gameplay, but should be replaced as soon as you roll anything Grade 2 or higher. It teaches you the fundamentals without providing long-term value. Use any free clan spin codes immediately to escape Itadori as quickly as possible.

Kugisaki offers +25% CD, +20% HP, and -10% CE. This stat combination tries to be both offensive and defensive but fails at both. The CD bonus barely matters without sufficient CR to trigger crits consistently. The HP bonus and CE penalty create an awkward situation where you’re slightly tankier but can’t cast abilities effectively. At 27.78% drop rate, Kugisaki appears frequently but should be rerolled immediately whenever possible. No cursed technique synergizes well with this stat distribution. If you’re stuck with Kugisaki, use every available code for free clan spins to escape as quickly as possible.
Nanami provides +10% CR, +10% ATK, and -10% HP. The stats are so minimal they barely impact gameplay. Even among D-tier options, Nanami stands out for how little it actually improves your character. The CR bonus requires significant CD from other sources to matter, while the ATK bonus barely registers. The HP penalty just adds insult to injury. At 27.78% drop rate, many unlucky players will roll Nanami, but it should never be kept. Reroll immediately and don’t look back. No build works well with such minimal stat bonuses.
Fujiwara gives +12% ATK, +10% DR, and -5% HP. While the stats aren’t completely useless, they’re so small they provide minimal practical benefit. The ATK bonus barely increases damage, the DR doesn’t noticeably improve survivability, and the HP penalty just feels bad. At 70.5% drop rate, Fujiwara appears constantly alongside Itadori and Miwa as the most common Grade 3 clans. Reroll immediately even Todo from Grade 2 offers dramatically better stats.
Miwa sits at the very bottom with +20% HP and -10% CER. This is the only clan that provides zero offensive stats whatsoever. The HP bonus doesn’t compensate for complete lack of damage potential, while the CER penalty hurts mana regeneration. There is no situation where Miwa performs acceptably. At 70.5% drop rate, it’s unfortunately common, but should be rerolled the instant you see it. Miwa represents the worst possible clan outcome and offers nothing of value to any build or playstyle.
Rerolling clans effectively requires understanding the system mechanics and maximizing your free resources. Start by redeeming every available code immediately new player codes like “FREECLANSPINSYES” provide 1,000 free spins, while “GOODLUCKTADORI” gives additional rolls. Check the official Jujutsu Zero Discord server regularly for new code releases, as developers frequently add codes during updates and special events.
The pity system guarantees a Grade 1 or higher clan every 100 rolls without getting one, so track your rolls mentally. Once you hit 98-99 rolls without Grade 1+, your next spin is guaranteed to be at least Grade 1. Save any premium currency or Robux purchases for after you’ve exhausted all free codes. Open the main menu, select the Clans section, and you’ll see your current clan with a “Spin” button. Each spin costs one Clan Roll or 50 Lumens.
Before rerolling a Grade 1 or higher clan, the game displays a confirmation prompt to prevent accidental losses. You can store clans in your Clan Bag using the “Save” button, giving you up to 4 total slots (1 equipped, 3 in bag). This lets you keep multiple clans and switch between them for different builds or situations. Always save any Grade 1 or higher clan to your bag before rerolling, even if you plan to use something better you never know when you might want to experiment with different builds.
Convert excess Yen to Lumens at the Lumen Merchant NPC (100 Yen = 1 Lumen) when you’re desperate for more rerolls. Complete daily quests and story missions for steady Lumen income. Participate in raids and ranked PvP for additional Lumen rewards. Never waste Robux on clan spins until you’ve completely exhausted all free and earned options.
Synergy between your clan and cursed technique dramatically impacts your effectiveness. For Sukuna, pair with Shrine for the authentic King of Curses experience the +50% ATK makes Dismantle and Cleave absolutely devastating, while the CDR lets you spam these abilities constantly. Kashimo works exceptionally with Disaster Flames or Disaster Tides, where the high CDR and crit bonuses maximize ability spam DPS. Tengen synergizes perfectly with Limitless, especially once you unlock Domain Expansion the massive HP and CE pools let you tank hits while controlling space.
Geto becomes an absolute monster with Disaster Tides or any AoE-heavy technique the +40% ATK and +20% CDR create nonstop ability spam that clears entire enemy waves. Gojo naturally pairs with Limitless for the complete Satoru Gojo fantasy, though it works well with nearly any technique thanks to balanced stats. Zen’in dominates with fast-hitting techniques like Shrine or Blood Manipulation where the +30% CDR lets you maintain constant pressure.
For lower tiers, Fushiguro performs best with techniques that don’t heavily rely on CE pools, such as Shrine or Ratio. Abe excels with mana-hungry techniques like Limitless or Disaster Tides where the +55% CE lets you cast freely. Todo works adequately with any offensive technique as a budget option. Avoid pairing defensive clans with offensive techniques and vice versa build synergy matters more than individual pieces.
Sukuna currently holds the title as the single best clan for pure offensive power, with its +50% ATK, +25% CR, and +85% CD creating unmatched damage potential. However, Kashimo competes closely with superior CDR, and Tengen offers the best defensive option. Your “best” clan depends on your preferred playstyle aggressive players prefer Sukuna or Kashimo, while defensive players love Tengen.
Redeem all available codes first these provide thousands of free spins. Complete daily quests and story missions for Lumens, which can be used to purchase spins (50 Lumens per spin). Convert excess Yen to Lumens at the Lumen Merchant NPC. Participate in raids and ranked PvP for additional Lumen rewards. Check the official Discord daily for new code releases.
Yes! You have 4 total clan slots 1 equipped and 3 in your Clan Bag. Before rerolling a Grade 1 or higher clan, use the “Save” button to move it to your bag. This lets you keep multiple clans and switch between them freely, allowing experimentation with different builds and playstyles.
The game includes a confirmation prompt whenever you attempt to reroll a Grade 1 or higher clan, specifically to prevent accidental losses. Always read these prompts carefully. If you ignore the warning and reroll anyway, that clan is permanently lost there’s no way to recover it. Always save rare clans to your bag before spinning.
Every 100 clan rolls without getting Grade 1 or higher guarantees your next roll will be at least Grade 1. The pity counter resets immediately upon rolling any Grade 1+ clan. This prevents impossibly bad luck streaks and ensures you’ll eventually get decent clans even with poor RNG.
Choose based on your preferred gameplay mode. PvP favors burst damage clans like Sukuna, Kashimo, or Zen’in that can quickly eliminate opponents. PvE prefers sustained damage and technique spam clans like Geto, Abe, or Tengen that excel in extended boss fights and wave clear. Balanced clans like Gojo work adequately in both modes.
No. Even the best Grade 3 clan (Itadori) gets completely outclassed by Grade 2 options like Todo. Reroll immediately whenever you see Grade 3 clans. Use free codes to escape Grade 3 as quickly as possible during your initial gameplay.
No. Clan stats are fixed and cannot be upgraded, enhanced, or modified. The only way to improve your clan situation is by rerolling for better options. This makes initial clan selection critically important for long-term performance.
Yes, indirectly. Clans don’t grant unique abilities, but their stat bonuses significantly impact technique damage. ATK increases technique damage, while CE expands your mana pool for more casts, and CDR lets you cast abilities more frequently. Critical-focused clans also boost technique critical strikes.
At 0.02% drop rate (1 in 5,000), you need an average of 5,000 spins to roll a ??? Grade clan. With free codes providing 1,000-2,000 spins and daily grinding adding more, dedicated players might secure one after several weeks or months of consistent play. Many players never roll ??? Grade clans due to extreme rarity.
Choosing the right clan in Jujutsu Zero can make or break your entire experience. The ??? Grade clans Sukuna, Kashimo, and Tengen represent the absolute peak of power, but their 0.02% drop rates make them incredibly difficult to obtain. For most players, Special Grade clans like Gojo, Geto, and Zen’in provide exceptional performance at more reasonable 0.25% drop rates. Grade 1 options like Fushiguro and Abe serve as excellent alternatives when premium clans remain elusive.
The key takeaway is to never settle for Grade 3 clans and to reroll D-tier options immediately. Use every available code for free clan spins, save Grade 1+ clans to your bag, and understand the pity system to maximize your chances at premium bloodlines. Remember that clan synergy with your chosen cursed technique matters just as much as raw stats a well-synergized A-tier clan often outperforms a mismatched S-tier option.
Keep grinding those clan spins, stay active in the community for new codes, and don’t get discouraged by bad rolls. Even with average luck, you’ll eventually secure a strong clan that lets you compete effectively. Now get out there and start rolling for that perfect bloodline!