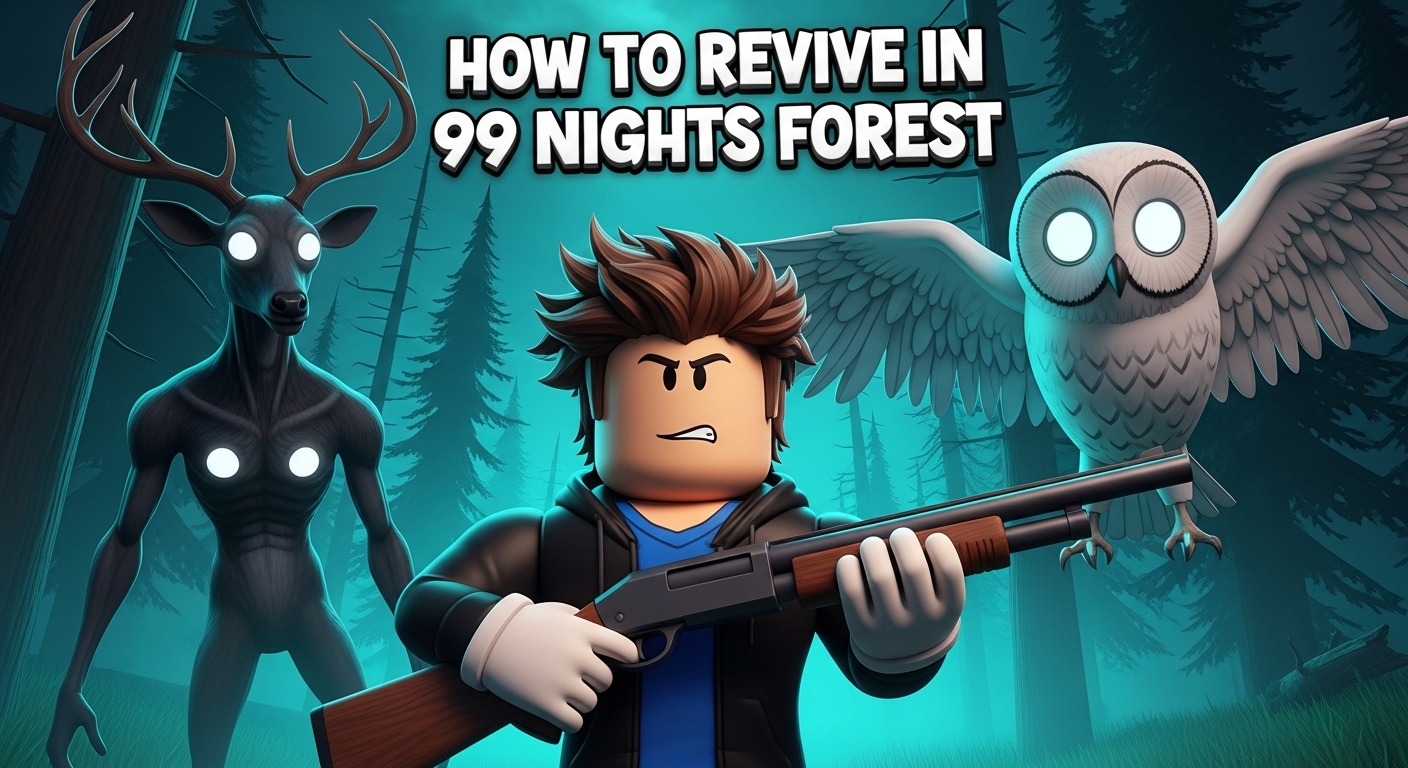
Roblox Parasite.exe Codes (October 2025) Spawn a Free Mega Dummy
Welcome to the ultimate Parasite.exe codes guide! If you’re ready to dive into the dark world of scientific experimentation where…
I’ll be honest with you – when I first started playing 99 Nights in the Forest, I died. A lot. Like, embarrassingly a lot. But you know what’s worse than dying? Watching your entire squad wipe because nobody knew how to revive properly. After spending over 200 hours in this game, I’ve learned every single revive method inside and out, and I’m gonna share all that knowledge with you today.
The revive system in 99 Nights in the Forest isn’t just about picking someone up – it’s about survival strategy, resource management, and knowing which method to use at the right time. Trust me, once you understand this stuff, you’ll go from struggling on night 15 to confidently pushing through night 70 and beyond.
Before I dive into the how-to stuff, let me explain why mastering the revive system literally changed my gameplay. In 99 Nights, death isn’t just frustrating – it’s devastating. You lose progress, your team loses firepower, and honestly, those later nights get exponentially harder with fewer players.
I remember this one run where we made it to night 82. My teammate went down during a cultist attack, and because I knew exactly what to do, I stored his body in my sack, retreated to our camp, and revived him safely. We ended up finishing that run successfully. Compare that to my early days when I’d panic-revive people in the open and immediately get attacked myself.
The difference between surviving and wiping often comes down to smart revival tactics. So let’s get into it.
Bandages are gonna be your bread and butter for most of the game. I’ve probably used hundreds of these things by now, and they’re the most reliable way to get teammates back in action.
Here’s the step-by-step process I use every single time:
The big thing I learned about bandages is timing. Don’t waste them on early-night deaths when the danger is low. Save them for when things get hairy.
I’ve found bandages through pretty much every method available in this game:
Looting:
Crafting: This became my main source once I figured out the crafting system. Head to the Tool Workshop and use the Anvil with:
Honestly, crafting bandages is super efficient once you get into a rhythm of hunting animals early in each night.
Class Bonus: The Medic class starts with 2 free bandages every single game. I’ll talk more about classes later, but this alone makes Medic worth the 40 gem investment.
After using bandages countless times, here’s what I’ve learned:
Pros:
Cons:
I typically use bandages for nights 1-40, then switch to better options as things get more intense.
Medkits are like bandages on steroids. When I first got my hands on one around night 25, I immediately noticed the difference. Your teammate comes back with nearly full health, which is absolutely clutch in dangerous situations.
The revival process is identical to bandages:
The difference is night and day. I remember one run where a teammate went down during a boss fight with the Cultist King. I revived him with a medkit, and he immediately had enough health to keep fighting. If I’d used a bandage, he would’ve died again in one hit.
Medkits are way harder to find than bandages. Here’s every method I know:
Rare Drops:
Class Benefits:
The Medic Tier 3 upgrade is honestly one of the best perks in the game. Every time you start a run as a leveled-up Medic, one of your bandages becomes a medkit. That’s a guaranteed high-quality revive item right from the start.
I’ve developed a personal rule system for this:
Use Bandages When:
Use Medkits When:
Medkits are precious. I treat them like emergency items and only break them out when absolutely necessary.
Okay, this is where things get really interesting. The Respawn Capsule is probably the most underrated item in 99 Nights in the Forest, and I didn’t even know it existed until I hit crafting bench level 5.
Unlike bandages and medkits where you manually revive someone, the Respawn Capsule works automatically. You place it at your camp, charge it up, and boom – it auto-revives the most recently deceased player. No running around, no risky revival situations, no stress.
I can’t tell you how many times this thing has saved my runs. Picture this: night 67, your entire team is scattered fighting different enemy groups, someone goes down on the opposite side of the map. Instead of one person risking everything to run over and revive them, the capsule just brings them back at camp. It’s incredible.
Here’s the challenge – you need to max out your crafting bench to level 5. Once you do that, you can craft the Respawn Capsule using:
The Gem of the Forest drops from cultist enemies, so you’ll need to do some cultist hunting. I usually get mine by actively seeking out cultist camps and clearing them.
Once you’ve crafted it:
The catch is you need to recharge it with more Cultist Gems after each use. So I always make sure to stockpile Cultist Gems specifically for this purpose.
Here’s what I do on serious runs:
Early-Mid Game (Nights 1-40):
Mid Game (Nights 40-60):
Late Game (Nights 60+):
This setup has increased my survival rate dramatically. Knowing I have that safety net lets me play more aggressively and take calculated risks.
The class system in 99 Nights adds another whole layer to revival strategy. After unlocking and testing every class, I’ve found three that completely change how you approach revivals.
Cost: 40 Gems Starting Items: 2 Bandages
I main Medic on probably 60% of my runs now. Here’s why it’s amazing:
Level 1 Perks:
Level 3 Upgrade (THE BIG ONE):
That 2x faster revival speed at level 3 means you’re exposed for half the time when reviving teammates. In dangerous situations, those extra seconds literally mean life or death.
I remember this one night around level 75 when enemies were everywhere. My teammate went down, and because I was a leveled Medic, I revived him in maybe 2-3 seconds instead of 5-6. We both survived an attack that was happening during the revival. With normal speed, we would’ve both died.
Cost: 100 Diamonds Starting Items: 1 Medkit
Berserker is interesting because it’s the only class with a built-in self-revive mechanic. At level 1, you get one automatic revival per round.
Here’s how it works: you die, and instead of going down, you automatically pop back up with some health. It’s a one-time use per game, but it’s saved my bacon so many times.
When Berserker Shines:
I use Berserker when I’m pushing into new territory or trying to complete difficult challenges. That built-in safety net gives you confidence to take risks you normally wouldn’t.
Cost: 45 Gems Starting Items: 1 Bandage
Support class is underrated in my opinion. You start with a bandage, but the real perk is the bonding system. At the start of each game, you bond with another player and absorb some of their damage.
This indirectly helps with revivals because your bonded partner is less likely to go down in the first place. Prevention is better than cure, right?
My Support Strategy:
It’s not as flashy as Medic or Berserker, but Support contributes to team survival in a more subtle way.
Okay, let’s talk about the elephant in the room – the paid self-revive option.
When you die, a green “Self-Revive” button appears offering instant revival for 45 Robux. You click it, pay the Robux, and boom – you’re back in action right where you died with full health.
Look, I get it. Sometimes you’re on night 90, you’ve invested hours into the run, and you desperately want to keep going. But here’s my take after watching countless players waste Robux on this:
It’s Expensive: 45 Robux every single death adds up fast. If you’re dying regularly, you could easily spend hundreds of Robux in a single gaming session.
It Doesn’t Solve the Core Problem: If you died once, you’ll probably die again unless you change your strategy. The self-revive puts you right back in the same dangerous situation that killed you.
Good Teams Don’t Need It: With proper communication and revival items, teammates will get you back up anyway. I’ve completed full 99-night runs without anyone spending a single Robux on revivals.
There Are Better Uses for Robux: If you’re gonna spend money, invest in permanent upgrades or classes that improve your overall gameplay, not temporary revivals.
The ONLY situation where I’d consider the Robux revive is if:
Even then, it’s a tough call. But at least in that scenario, you’re using it strategically for a legitimate shot at completion.
After hundreds of hours and countless runs, I’ve developed some advanced tactics that seriously improved my survival rate.
This is absolutely crucial and something I see new players mess up constantly. When a teammate goes down:
You can carry fallen teammates! This means you never have to revive in dangerous situations. I’ve carried teammates halfway across the map to get them to safety.
The first time someone showed me this technique, it blew my mind. Now it’s part of my standard operating procedure every single run.
If you’re playing with randoms or friends, communication during revival situations is vital. Here’s what I always do:
Before Someone Goes Down:
When Someone Goes Down:
After Revival:
Clear communication prevents panic and coordination disasters. I’ve seen teams wipe because everyone tried to revive the same person simultaneously, leaving nobody to fight off enemies.
Here’s my personal hierarchy for revival resource usage:
Priority 1: Respawn Capsule If it’s charged, always use it first. Why risk a manual revival when you have an automatic option?
Priority 2: Bandages (Early-Mid Game) Use these freely for any revival situations before night 50.
Priority 3: Medkits (Late Game) Save these specifically for nights 50+ or boss fight situations.
Priority 4: Class Auto-Revives If you’re Berserker, remember you have one free self-revive. Plan around it.
Last Resort: Robux Only in extreme circumstances where completion is likely.
This system has helped me stretch my resources much further and reduce wasteful revival item usage.
I’ve mentally mapped out the safest revival locations in the forest:
Best Revival Spots:
Worst Revival Spots:
Knowing where to safely revive has saved me countless times. If a teammate goes down in a bad spot, I always relocate them using body storage before attempting revival.
Let me share the biggest mistakes I made when I was learning this system, so you can avoid them:
What I Did Wrong: Teammate goes down, I immediately sprint over without thinking and start reviving. Enemies attack, I die too, now we’re both down.
What I Do Now: Take 5 seconds to assess the situation. Clear nearby enemies first, THEN revive. Or use body storage to move them to safety.
What I Did Wrong: Found a medkit on night 10, teammate died, immediately used it because “why not?”
What I Do Now: Save medkits exclusively for post-night 50 content. Use bandages for everything before that.
What I Did Wrong: Everyone assumes someone else has revival items. Person goes down, nobody can revive them because nobody prepared.
What I Do Now: At the start of EVERY run, I ask “Who has bandages/medkits?” and announce what I’m carrying. This transparency prevents disasters.
What I Did Wrong: Spent all this time crafting a Respawn Capsule, placed it at camp, then completely forgot about it during gameplay.
What I Do Now: I set a mental reminder: “Capsule is at camp.” When someone dies, my first thought is “Let the capsule handle it” instead of running around manually reviving.
What I Did Wrong: Unlocked Medic class, used it once, never bothered to level it up to Tier 3.
What I Do Now: I specifically grinded Medic to Tier 3 because that bandage-to-medkit conversion is TOO good to pass up. Best decision I made.
Not with regular items like bandages or medkits – those only work on teammates. However, you can self-revive through the Berserker class auto-revive perk (once per game), the Respawn Capsule (if it’s placed and charged), or by spending 45 Robux for an instant self-revive.
There’s no limit! As long as you have revival items (bandages, medkits) or a charged Respawn Capsule, you can revive teammates infinitely throughout the game. I’ve revived the same person 5+ times in a single run when things got crazy.
If your entire team dies simultaneously, the game ends and you return to the lobby. The exception is if someone quickly uses the 45 Robux self-revive option before the game officially ends – that person can revive everyone else if they act fast enough.
Yes! The Medic class at Tier 3 revives 2x faster than other classes. This means a standard 5-6 second revival takes only 2-3 seconds as a leveled Medic, which is incredibly valuable in dangerous situations.
Bodies remain in the game world until the night ends or the game concludes. I’ve successfully revived teammates whose bodies were sitting there for 10+ minutes. Just make sure you know where they died by checking the map.
It depends on the situation. Bandages restore minimal health and are best for early-game revivals when enemies deal less damage. Medkits restore nearly full health and are essential for late-game content (nights 50+) when enemies can one-shot weakened players. Always prioritize medkits for crucial moments.
Cultist Gems drop from cultist enemies that spawn throughout the forest. Hunt them actively, especially in cultist camp areas. I usually stockpile 5-10 gems before crafting my Respawn Capsule to ensure I can recharge it multiple times.
Absolutely. I typically carry 3-4 bandages and 1-2 medkits during serious runs. Having backup revival items prevents situations where you’re caught without any way to help downed teammates.
After extensive testing, here’s the exact loadout I use for different stages of the game:
Class: Medic (for free bandages) Items:
Class: Medic (working toward Tier 3) Items:
Class: Medic Tier 3 (for the medkit conversion) Items:
This progression has helped me consistently reach higher nights and complete full runs more often.
Here’s the honest truth – when I started playing 99 Nights in the Forest, I struggled to make it past night 20. The game felt brutally difficult, and deaths seemed random and unavoidable. But once I truly understood the revival system and developed these strategies, everything changed.
I went from barely surviving to confidently pushing through night 70, 80, even completing full 99-night runs. The difference wasn’t skill or luck – it was knowledge and smart resource management.
The revival system in this game isn’t just a mechanic; it’s a core survival strategy that separates successful teams from failed runs. Knowing when to use bandages vs. medkits, understanding class benefits, maximizing the Respawn Capsule, and mastering body storage techniques are all crucial skills.
My biggest piece of advice? Don’t just collect revival items – have a plan for using them. Communicate with your team. Practice safe revival techniques. Level up your Medic class. Craft that Respawn Capsule as soon as possible.
And remember – every death is a learning opportunity. Each time you or a teammate goes down, think about what went wrong and how you could handle revival better next time.
Want to improve your overall gameplay? Check out these guides I’ve written: